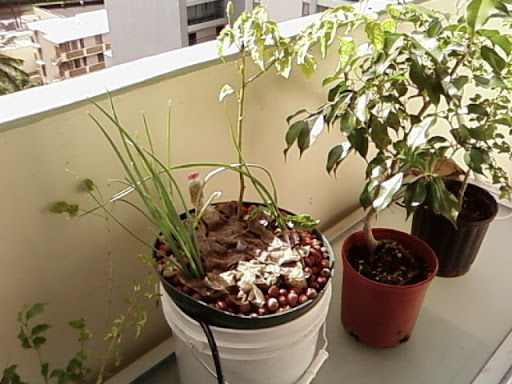
About a year or so ago, I became interested in hydroponics. I've always enjoyed growing my fresh herbs and vegetables since I was a child. Living in a condo, working with soil is a major issue. I decided to try hydroponics. Actually, I decided to go with a more complex aquaponics set-up at first.
|  Here is what my aquaponics looked like when I started it. I won't show a picture of how it ended... trust me it was not good. The problem I think was that my small guppies and the 1 big cichlid in the tank were not producing enough nutrients for the types of plants I tried to grow (eggplant, cucumber, green onions, chili peppers, bell peppers & lettuce). You can probably tell how well that went by what plants are left in my new set-up (chili pepper, green onions, 1 lettuce, 1 clove of garlic). Besides having a hard time getting the nutrients for the plants using the aquaponics method, the water would immediately turn dark green from the sun. I could have reduced this by using a black or non-translucent container for the tank, but I wanted to be able to see the fish occasionally. I didn't like the green water because eventually it was so green you couldn't see the fish anyway! It was finally time for version 2.0 of my condo lanai vegetable garden. Here is what my aquaponics looked like when I started it. I won't show a picture of how it ended... trust me it was not good. The problem I think was that my small guppies and the 1 big cichlid in the tank were not producing enough nutrients for the types of plants I tried to grow (eggplant, cucumber, green onions, chili peppers, bell peppers & lettuce). You can probably tell how well that went by what plants are left in my new set-up (chili pepper, green onions, 1 lettuce, 1 clove of garlic). Besides having a hard time getting the nutrients for the plants using the aquaponics method, the water would immediately turn dark green from the sun. I could have reduced this by using a black or non-translucent container for the tank, but I wanted to be able to see the fish occasionally. I didn't like the green water because eventually it was so green you couldn't see the fish anyway! It was finally time for version 2.0 of my condo lanai vegetable garden.
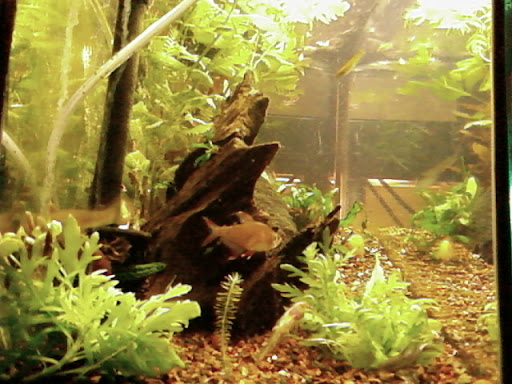
|  I had purchased these things back in March, but haven't had a chance to set it up. It actually only took about 10 minutes to set up, but cleaning up the old system is what was a big job. I put the guppies and the cichlid in my indoor aquarium for now and I'll see how that goes. I had purchased these things back in March, but haven't had a chance to set it up. It actually only took about 10 minutes to set up, but cleaning up the old system is what was a big job. I put the guppies and the cichlid in my indoor aquarium for now and I'll see how that goes.
|
These are the parts I used for this super simple set-up. Total cost approx. $50.
-bucket (white)
-cheap plastic planter (green)
-cheapest garden fountain water pump I could find ($19)
-silicone hose to fit pump outlet & length from bottom of bucket to top of planter
-expanded clay pellets (grow medium)
-outlet timer (capable of 30 minute cycles)
-Water Soluble Miracle-Gro 8oz trial size "All Purpose Plant Food" (24-8-16)
The cost to set-up might seem higher than buying a bag of potting soil, but I have a good feeling that in the long run it will be more effecient. I have started my version 2.0 system with the small bucket and planter just as a trial basis. If It works out, all I would need to do is spend money on a larger bucket and planter that can have more growing surface. I might also need a little more silicone hose and connectors to spread the water evenly and more expanded clay pellets which I already have a big bag of. The location of my plants are on my balcony facing afternoon sun so I don't feel the need for any grow lights right now.
Assembly:
-Place water pump into bucket.
-Pass silicone hose through bottom of planter drain hole (should have several holes; if it's not big enough or there aren't any you'll need to make some).
-Planter should be able to rest on the rim of the bucket or you will need a spacer under the planter to hold it to the desired height.
-Fill bucket with enough water to submerse the pump and be at about the level of the bottom of the planter.
-Hold end (opposite end of the side at the pump) of silicone hose up to center & top of planter.
-Fill planter with expanded clay pellets or whatever medium you choose leaving room for plants and more medium at surface.
-Plants' roots should be washed free of soil and gently placed in the medium while adding more medium to support the plants.
-Set timer to turn on for 30 minutes and off for 30 minutes all day long (this can be adjusted to maintain proper moisture for your area and plants).
-Plug pump into timer and check to see that it cycles off and on.
-While pump is running, make sure pressure is low enough so it doesn't shoot the water out of your planter & also check that water is being evenly distributed around the planter. I used cut up pieces of a drinking water bottle to direct flow of water outward.
-Dilute Miracle-Gro (instructions 1 Tblspn./Gallon of water is for normal use). Since I'm just starting this version now, I am starting with about 1/4 teaspoon/Gallon of water. **note: a gallon of water doesn't fit in my bucket. The bucket is only filled to about 4 inches from the bottom. Save the solution or make less if you don't need a gallon.
I sprinkled some new lettuce mix seeds, spinach seeds and mizuna seeds on the top so I placed a paper towel on the top to keep it moist so the seeds can germinate. We'll see how this version works. Hopefully better than my aquaponics.
|
|
 There is a local business woman who has been specializing in providing these compost worms and worm bin kits for several years. Her business is called
  -A 1/4 pound of EPIGEIC Perionyx excavatus, a.k.a. Hawaii's native composting worms.


 We started with the 1/4 pound because it's suggested that they will be able to keep up with 2 adults average weekly food waste that can be added to the bin. The suggested consumption amount is 2 pounds of fruit, vegetable or grain waste per week.


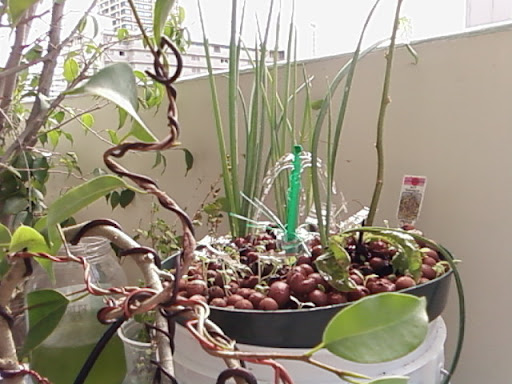
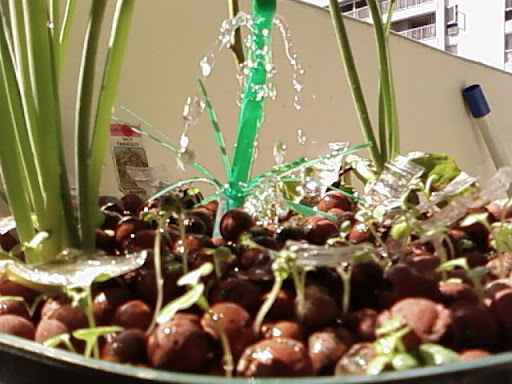 It's been about a week since I revamped my condominium vegetable garden. This is a picture from today. I added on a homemade water diffuser sponsored partially by Starbucks Coffee's recognizable green straw the labor and engineering was provided by me. The mixed greens and other seedlings seem to be sprouting very well. Most are about 2 inches in length or more. A few have began showing their 1st true leaf sprouts.
 Here is what my
  I had purchased these things back in March, but haven't had a chance to set it up. It actually only took about 10 minutes to set up, but cleaning up the old system is what was a big job. I put the guppies and the cichlid in my indoor aquarium for now and I'll see how that goes.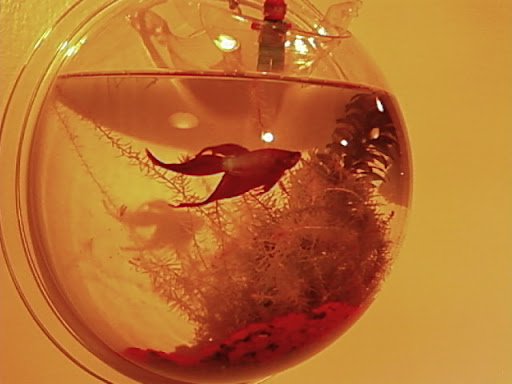
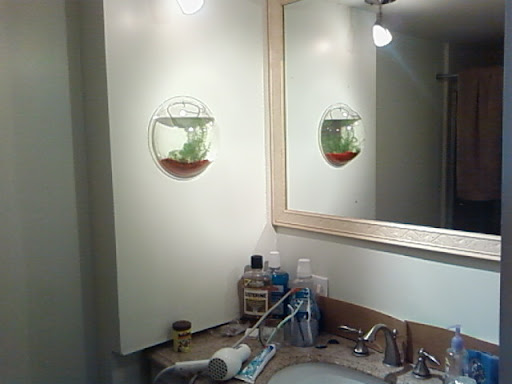 Kelli purchased a wall tank fish bowl from Koolau Pets in Windward Mall this week. I mounted it on the side of the bathroom mirror.
 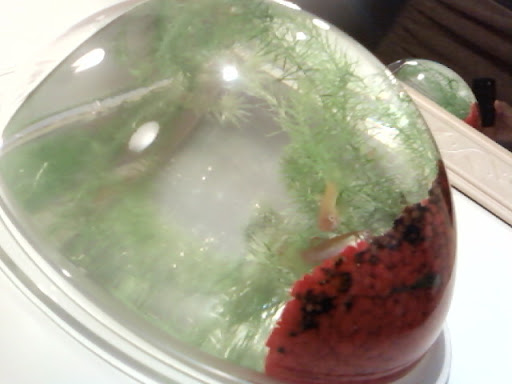 I used the artificial red colored rocks that it comes with, but I added live plants and a handfull of substrate from my other aquarium to kick start the bacteria growth. We haven't decided what fish will go in there yet, but I put a couple of guppies from my other aquaponics tank in this bowl for now.
