 Art of Bonsai Art of Bonsai
- Wiring and Form...
This is a summary of the last 2 classes. In these last 2 classes we observed the mistakes that we all made when wiring our trees. Then we observed the techniques Master Liew used to decide what style of bonsai is best suited for the tree and finally how to style them. I started the night with a practice shot of the building at twilight. Something that Realtors always try to capture. Anyway...
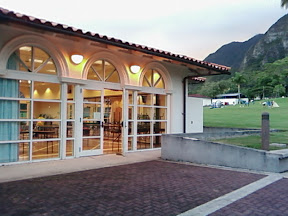
| 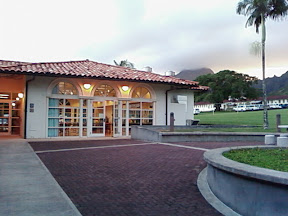 I think this Windward Community College Campus is really nice. Look at the design of the buildings and the Ko'olau Mountain Range in the back. I think this Windward Community College Campus is really nice. Look at the design of the buildings and the Ko'olau Mountain Range in the back.
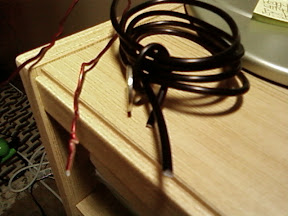
The wire used for bonsai is a special wire sold in nursery or garden stores that specialize in bonsai equipment and tools. It's an aluminum wire that is available in several different gauges, but usually there are only 2 main sizes that you need for working on these types and sizes of bonsai. The picture of the 2 wires below has a nickel (5 cents) profile in it so you can relate to the thickness of the wire. The wire is soft enough to bend and form around the tree trunk and branches. It's best to have it wrapping at a 45 degree angle. The thicker wire is for the trunk and larger branches and the thin wire is for your smaller limbs.
|  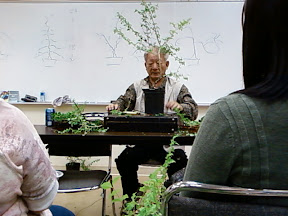 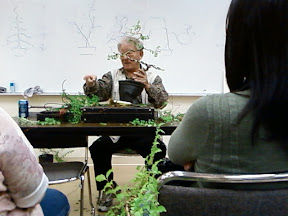
After securing, with wire, each branch that you will be using in your style, you then cut off the branches that are not used. Sometimes you may reserve an extra branch at a spot that you think one branch may turn out more artistic than the other. Later on, you will pick the nicer branch. Every inch of the tree trunk and its branches must have a curve. If there is any part of the tree that is more than 1 inch of straight branch, it's not done according to bonsai style.
|  I think this tree has style. It's one of Master Liew's show pieces. It is an art so really, he says, "as long as it is beautiful, it can be art". I'm sure some "straight" trees might look beautiful, but I think when it's in contrast with a styled tree most artisans will choose the styled tree. I think this tree has style. It's one of Master Liew's show pieces. It is an art so really, he says, "as long as it is beautiful, it can be art". I'm sure some "straight" trees might look beautiful, but I think when it's in contrast with a styled tree most artisans will choose the styled tree.
| 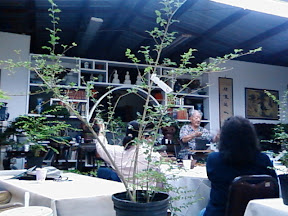 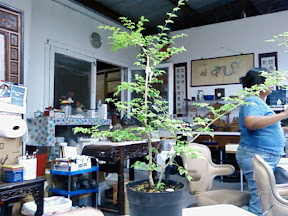
| Above are our Hackberry Trees before styling...
Below are our Hackberrry Trees after styling...
| 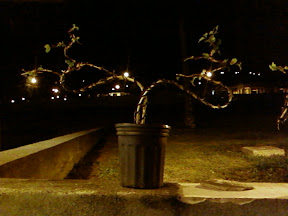 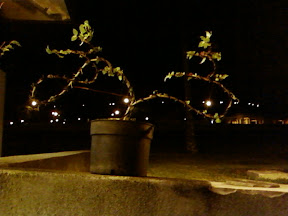
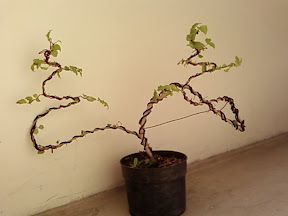
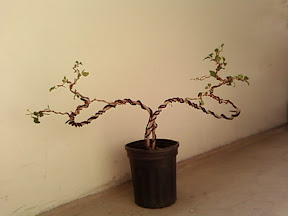
| I took those just outside of the classroom. I forgot to take the picture in the lighted classroom, but we needed to make sure that if any branches bend in transport, we know how it's supposed to look. Our trees both had twin trunks. He decided that both our trees were best suited for the style he called "Lovers" or "Father & Son" or "Husband & Wife" etc. This style is actually 2 "Literati" style trunks with "Model" tops. As you can see, although they are the same style, they are different. Kelli's one has that infinity looking 8 in it. Master Liew says it's supposed to represent me doing everything I can to make her happy!!! That might be good for her, but is that good for ME?? =P He always has a story or theme to go with the tree style and that is part of the reason why his bonsai are so popular amongst the art and culture enthusiasts. He is afterall a Ph.D. The story of Kelli's tree style also has some traits known as the Phoenix and the Dragon style. Of course, he's quite a salesman...
Below are the trees in daylight after about 5 days from the night of becoming styled. No new leaves or branches yet, but it's surviving the manipulation.
|  
| 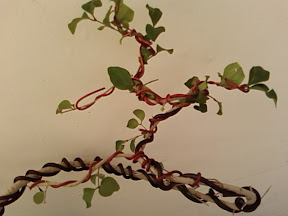 Here's a close up of the wiring and the bends in the "Model" styled section of the bonsai. Now we have to go practice buying our own trees. Part of the lesson is being able to choose the right tree to create the style of bonsai that you want. I want to try and find a tree to make a nice "Full Cascade". We're loving this class and recommend anyone who has the slightest interest to take it! Here's a close up of the wiring and the bends in the "Model" styled section of the bonsai. Now we have to go practice buying our own trees. Part of the lesson is being able to choose the right tree to create the style of bonsai that you want. I want to try and find a tree to make a nice "Full Cascade". We're loving this class and recommend anyone who has the slightest interest to take it!
| Related Links: Master Walter Liew Googled, Google Maps of Dragon Garden, Yellowpages Dragon Garden Listing, Full Size Photo Album, My Bonsai Posts.
|
|
 Halloween is always fun in Waikiki or Hawaii in general. This Mr. Potatohead pumpkin accessory kit is a promotional item that Macy's Department Store is selling for $6.95 with any purchase of $35 or more. Kelli bought some shoes and qualified to purchase this kit so we did. We haven't accessorized our pumpkin with the Mr. Potato Head fashion accessories yet.
 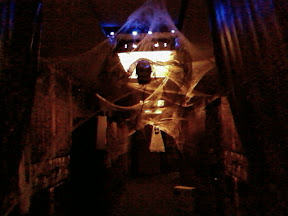 What does the corporate I.T. department that you know of look like during Halloween? This is what my friend, Glenn, did to his department!! I think he's insane for spending so much time and money on it, but he really enjoys it and everyone that sees it also enjoys it! He should charge admission. Watch the video clip of this I.T. department's Halloween decorations.
 Here's our full moon just a few days early for Halloween. I took this on Friday night on the way out to Kapiolani Community College to listen to 100 Ghost Stories by Candlelight. We got there a few stories into the free event (about 730p) and left about 11p. There were still about 20-30 candles lit. They started with 100 candles and blew 1 out after each story. The stories were interesting and they were being told by
 This was interesting. On Wednesdays, Kelli has dinner with her grandma in Kaneohe. I went with her last Wednesday. We were eating at a new Japanese style restaurant across Windward Mall. The sign says, "Kenko-ya" as you can see in this picture. Now when we get seated and they bring the menu, it reads, "Genko-ya" in English or romaji and "けんこう屋" (kenko-ya in Japanese writing). This is common in the Japanese Language where they will pronounce the "k" sound as a "g", but I don't know how well their name recognition will be amongst English consumers. I searched YellowPages.com for both names and it's not found. When I Googled them, I found a
 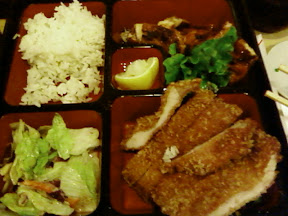 I chose the 2 choice teishoku meal. I had tonkatsu (breaded pork cutlet) and chicken teriyaki (soy sauce marinade). It was above average quality for a fast food type of Japanese restaurant. The chicken teriyaki and the tonkatsu tasted good. The cost was about $13. As always, I forgot to take the picture before I started to eat! The tsukemono (pickled vegetables) and the miso soup were not very good. It was ok, but the miso soup was a little too salty.
 The restaurant seemed very popular as lines of people were coming in to order take-out. The tables were also filled.
  Art of Bonsai
  I think this Windward Community College Campus is really nice. Look at the design of the buildings and the Ko'olau Mountain Range in the back.


 I think this tree has style. It's one of Master Liew's show pieces. It is an art so really, he says, "as long as it is beautiful, it can be art". I'm sure some "straight" trees might look beautiful, but I think when it's in contrast with a styled tree most artisans will choose the styled tree.


 Here's a close up of the wiring and the bends in the "Model" styled section of the bonsai. Now we have to go practice buying our own trees. Part of the lesson is being able to choose the right tree to create the style of bonsai that you want. I want to try and find a tree to make a nice "Full Cascade". We're loving this class and recommend anyone who has the slightest interest to take it!
 Kelli had the Summer Rolls with Rice Noodles. This was also ordered like a meal and was about $10. The summer rolls were deep fried and contained vegetables, pork and a little crab meat in them. They also had it in a vegetarian preparation. The summer rolls were chopped into bite sized pieces which made it easy to dip into the sauce and enjoy. It was warm and crisp when served. Kelli really liked it, but there the portion of rice noodles was a bit too much. It was very filling.
 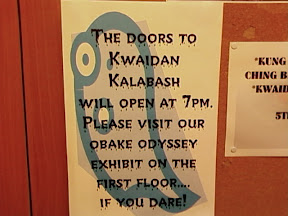 Sunday Night's FREE Ghost Stories...
 My "anything" blog is now part of
  Picnic Potluck



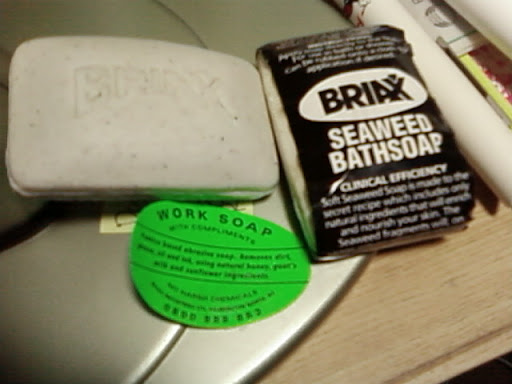 Briax Soaps...
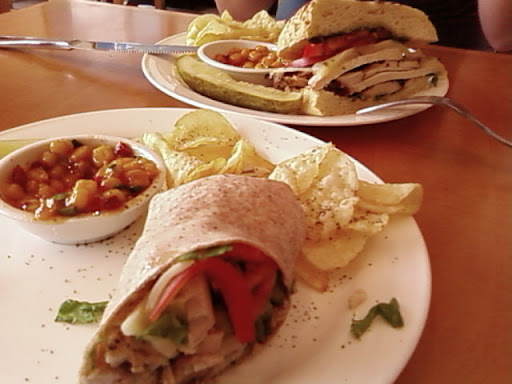 Lunch at the Mermaid Bar...
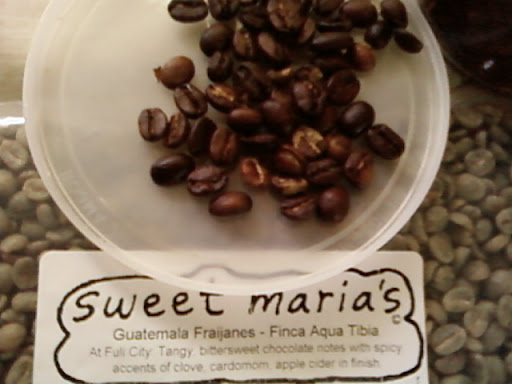 Home Coffee Roast - Guatemala Fraijanes- Finca Aqua Tibia roasted to a Vienna or Light French Roast.
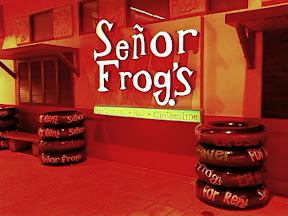 Saturday night, after the Blue Angels Air Show, we walked to Senor Frogs. It's on the 3rd floor of the newly renovated area of Royal Hawaiian Shopping Center. We arrived there about 8pm and received a pager that would call us when our table became available. We were seated in about 15 minutes and the hostess' estimation was 20 minutes.
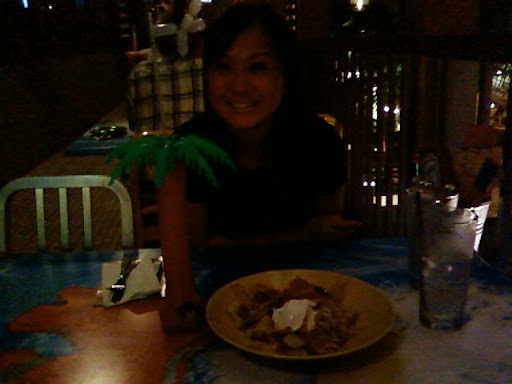
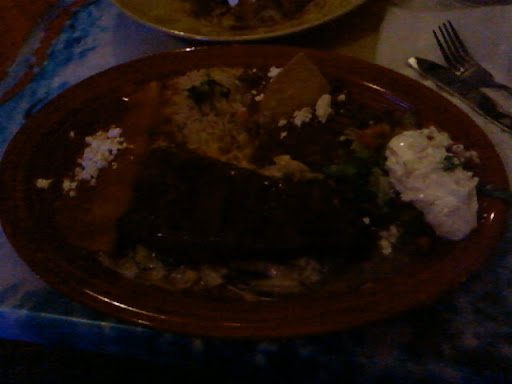
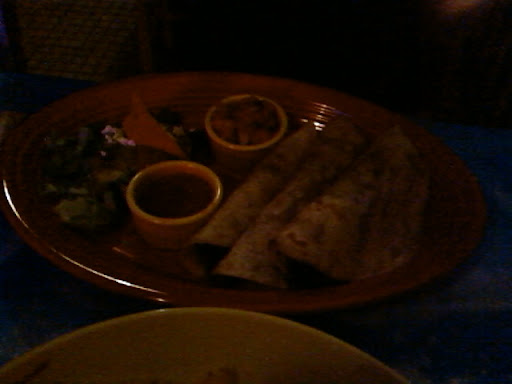
 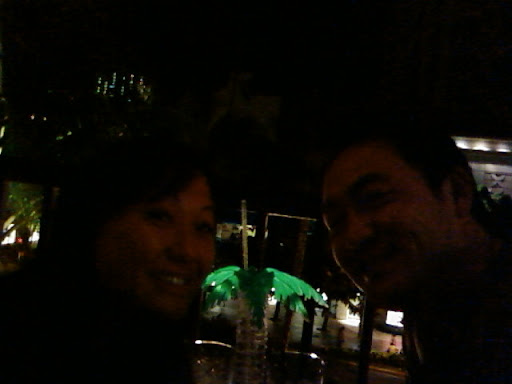 We had a seat out on the veranda over looking Kalakaua Avenue. It was a nice area to be seated. The interior seating is probably where most of the excitement is. It was still very dark so my pictures aren't that great. The atomosphere is very fun and exciting. People were singing on stage (karaoke) and there was professional entertainment as well.
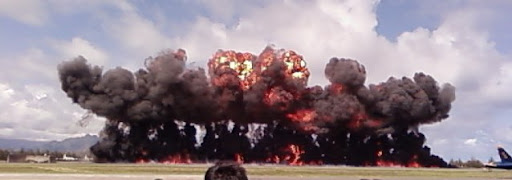
 The Blue Angels Kaneohe Air Show

